
Table of Contents
Disclaimer: None of our reviews are sponsored. We earn a commission when you purchase items through our links.
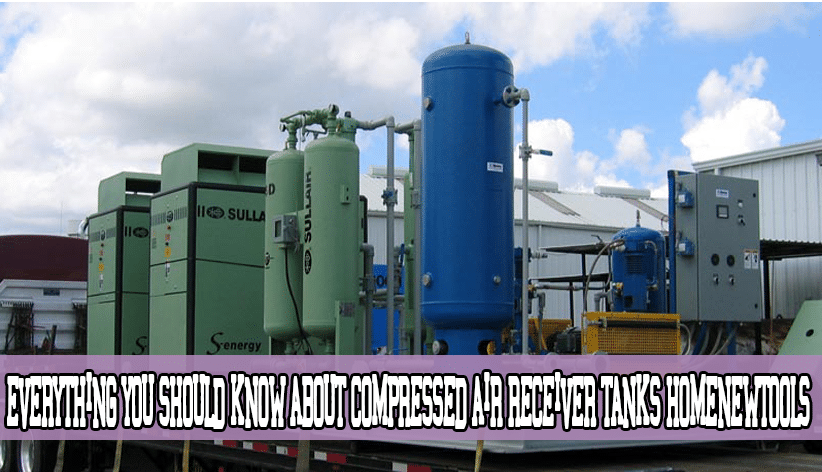
Compressed Air Receiver Tanks: A
Beginner’s Guide
An air receiver, or a compressed air tank, is an essential part of any compressed air system.
Its main purpose is to be temporary storage to accommodate the peaks of demand from your air compressing system and optimize the efficiency of your plant.
Why Is an Air Receiver Important?
While your air compressor can run without a receiver, it would probably increase the loading and unloading cycles.
This, in turn, increases the load on your compressor and consequently the wear and tear that happens to it.
Air receivers store compressed air before it goes into the piping system.
In other words, they serve as a buffer mechanism between the compressor and the varying pressure due to the changing demand.
If you don’t have much space to spare, you should go for a tank-mounted air compressor which you can place on top of your air receiver.
This setup saves both space and initial installation costs.
READ NEXT :
How to Pick the Right Air Receiver Size?
The right way to size an air receiver is to allow 3-4 gallons for every CFM or 10-15 liters for each liter/second of compressed air.
And just like air compressors, choosing the right air receiver size depends on several factors, so make sure you consider these:
Reducing Pressure Drops and Fluctuations
An air receiver is an ideal way to minimize pressure fluctuations that can have a considerable impact on the process of production and the quality of your final product.
So, to select the suitable air tank for your compressor, you need to pay attention to two values: the output pressure required by the compressor for the ongoing application and the compressor’s output pressure.
Note: The compressed air in your air receiver can only be useful if its pressure is enough for the process that you want to execute.
That’s why you should consider the duration throughout which an air receiver can supply air at the necessary pressure for your specific application.
READ NEXT :
- Best 12v Air Compressor
- Best 20 Gallon Air Compressor
- Best 30 Gallon Air Compressor
- Best Air Compressor For Home Garage
- Best Airbrush Compressor
Meeting Short-Term Peak Air Demands
If your compressed air demands have spikes of change throughout the day, it’s very important to consider those changes to make sure that the system pressure doesn’t fall below an acceptable level.
One of the enormous benefits of an air receiver is that it provides storage that meets short-term peak air demands that the compressor alone can’t match.
Depending on the shift pattern or unusual demands such as using an abrasive media blaster or a sandblaster, your requirement for air may vary.
That’s why you should completely understand the application, the expected peaks of your system, and the amount of CFM or liters/second of air you’ll require.
All of these things indicate the flow of compressed air you’ll need to avoid shortages for any of your processes.
Energy Considerations
Another benefit of an air receiver is that it helps reduce the energy consumption of your compressor system.
This is largely because it enables load/unload (fixed speed) compressors to function for a more extended period of time with tighter pressure bands.
Having more air will minimize the potential of the compressor starting up to keep up with the increased flow demand –something that has a drastic impact on your energy consumption.
Furthermore, it prevents fluctuation, as well as motor, starts all while creating a steady pressure and extending the life of the compressor.
READ NEXT :
- Best Jump Starter With Air Compressor
- Best Pancake Air Compressor
- Best Portable Air Compressor For Car
- Best 60 Gallon Air Compressor
- How to Choose an Air Compressor?
- How Do Air Compressor Work?
- How to Use a Paint Sprayer with an Air Compressor?
- What is an Air Compressor Duty Cycle?
- How Much Oil Does My Air Compressor Need?
- How to Make Your Air Compressor More Efficient
- How to Increase CFM on Air Compressor?
- How to Refill Co2 Tank with an Air Compressor?
- How to Adjust Your Air Compressor Regulator?
- How to Drain an Air Compressor?
- Why is a Scroll Compressor Better?
Safety Considerations
In an emergency situation, an air receiver provides the ideal supply of air to enable production processes and systems to shut down safely.
Why Must Air Tanks Be Drained?
You should regularly drain your air tank because as it pressurizes air, it accumulates moisture.
This moisture can lead to condensation inside the tank and eventually lead to rust.
If there’s rust, you’ll get a lot of leaks, and there will be resistance against the flow of air inside your system.
How Often Should an Air Tank Be Drained?
Air receivers help with getting rid of water from the system by giving the air the time to cool down.
If your compressor doesn’t have a built-in dryer, it’s more prone to accumulate moisture in the system.
And if you leave the compressed air wet, it will invariably lead to the damage of your equipment as well as compromise the quality of your final product.
Moreover, if water collects in the air receiver and is left without being drained, it can lead to corrosion. As a result, it can meddle with the integrity of your air receiver.
To avoid this, you should drain your air receiver at least once per day.
And if your compressor runs fully loaded throughout the day, you should drain it twice or three times –depending on the load of the work.
You could invest in a timer drain, an electronic drain, or a float drain to make sure you never forget about draining it.
How to Increase CFM on an Air Compressor?
You can do so using two methods:
First Method: Reducing the Pressure to Increase CFM
The pressure of the compressor is measured in PSI (Pressure per Inch Squared).
CFM refers to the rate at which the air goes out of the compressor.
Both PSI and CFM are negatively related, so the lower the PSI, the higher the CFM.
That’s why you can dial the regulator down to slow down the airflow into the tank and build a lower pressure inside. This consequently delivers a higher CFM.
Second Method: Connecting Multiple Compressors to Increase CFM
The first method won’t enable you to go at higher CFM ratings than the maximum limit of your compressor.
So if you need that, you can use this method.
Simply, if you have a compressor with a 5 CFM rating and another with a 3 CFM rating, you can connect them both to end up with 8 CFM by following these steps:
- Connect the tanks of both compressors with two different hoses.
- Connect a third hose to the previous two. This one should have three holes: two that act as inputs and the third one acts as output.
Finally, connect the output of the third hose with the tool you want to operate.